Book Review: It Starts With A Seed

Disclaimer: I received a book to review. All opinions are my own.

My children love learning about nature. Most of their time is spent outside and almost every day they discover a new plant, rock, bug, or feature of the land that grabs their attention. I love this and love encouraging their love of nature, discovery, and adventure. When I come across books that can do the same, I can't wait to read it with them.

Gardening is also one of their favorite hobbies and It Starts With A Seed ties all of that together, especially since they have just discovered buckeyes and have been picking them up anytime they see them.

Take a journey through the seasons and years as we follow the seed’s transformation from a seedling to a sapling, then a young tree, until it becomes a large tree with its branches and roots filling the page.

As the tree grows, it is joined by well-loved woodland creatures – squirrels and rabbits, butterflies and owls – who make it their home. Beautiful and evocative, It Starts With a Seed is a factual story that will touch children with its simple, enchanting message of life and growth.

Snapper and Tbomb's eyes were filled with enchantment as we read this book and they saw the changes to the tree and how the trees affect the ecosystem. This book really shows how important trees are and how many animals call them home. With the focus on the Sycamore's life cycle, children learn to love these little seeds and what they become. They want to plant trees of their own now.

15 Tips For Snacking On The Go

My husband had some problems the last several months with getting dizzy and his blood sugar dropping. He was feeling bad in general. Making sure that he had snacks and drinks with him constantly made a big difference, but didn't solve the problem.

It turns out that he has a vitamin D deficiency (like me) and that is what was causing the majority of the problems. He does have problems with his blood sugar dropping, although he is not diabetic, so he does have to keep snacks and glucose tablets with him.

We solved the problem with a Cool Clip Thermal from Thirty-One in a nice masculine camo print. He can put this in his backpack he carries his tablet and stuff in, throw it in the truck when he goes to work, or just carry it along. I keep a bottle of juice, a pack of crackers, snack cake, and glucose tablets in the pouch and it works perfectly. I throw in an Oreo ice pack and his juice stays nice and cold.

Because this is something we do struggle with, I wanted to share some tips with you.


1. Wash and chop fresh produce ahead of time to make packing easier.

2. Keep a few pre-packaged options on hand for a quick grab and go.

3. Invest in small bowls, reusable sandwich bags, and drink containers so you can use them over and over again without running out at the last minute.

4. Buy snacks that are eaten the most often in bulk (we buy large bags of popcorn, animal crackers, graham crackers, veggie straws, and cheese crackers) then repackage them as you need them.

5. If you want, you can buy zip baggies and repackage a whole bag of snacks at a time. It can make it easier and keep them fresh longer.

6. If you want apples for your snack on the go, there is an easy way to keep it fresh, but cut it as well. Just use an apple slicer/ corer, but put the pieces all back together. Then, wrap the whole thing in plastic wrap.

7. If you are making a snack or lunch for kids on the go, use a sandwich bowl, make sections with cupcake liners, and you instantly have a divided bowl that is the perfect size for kiddos. If you cut their sandwich in half and stack it- it fits!

8. Always try new things at home- you don't want to be out a snack because you don't like it.

9. We keep individual packages of dried fruit on hand for a healthy option as well.

10. Have a dehydrator? Use it to dry fruits and vegetables for a healthy snack that is perfect for on the go.

11. Pack snacks the night before- trust me, it is much easier. You can put your whole bag/ container in the fridge with a bottle of water, ready to go in the morning.

12. If you are packing for kids, think about choking hazards, allergy hazards (you don't want a new food to trigger a reaction), and other foods the kids will be eating. If they are going to be having birthday cake, you don't want to pack a bunch of sweet snacks.

13. Keep many options on hand- moods can change.

14. Keep a plastic spoon in your snack bag, just in case you need it. I do that with the kids and I've been grateful many times. Especially if I have packed pudding or yogurt and forgot the spoon.

15. Invest in a snack bag, container, water bottle, and ice pack that works for you and that you love- it will make all the difference.

Do you have snacking tips you would like to share?

10 Free American Sign Language Resources for Kids

Up until about a year ago, Snapper did not talk at all. There was no babbling, no trying, nothing. While waiting for the testing to start- hearing tests, addition physicals, autism testing, and more- I took a leap and decided to start teaching her sign language. I had taught Tbomb some baby signs when he was an infant, I took sign language in the 5th grade, and I was always fascinated with it. She took to it and started communicating with me in sign language. She picked it up very quickly. I knew then that she wanted to talk.

I had so many family members, friends, and strangers tell me not to teach her sign language, that it would make her "lazy" and not talk. My theory on this is that scientists have shown studies that it helps language development and talking is much easier than sign language. When it came down to it, I listened to my mother's instinct and still believe I made the right choice.

Her developmental pediatrician encouraged this and said that if nothing else, I "was giving her a way to communicate" and helping her anxiety stay at a minimum. Eventually, we found that at some point, she had fluid behind her ears, causing a delay. She was diagnosed with anxiety and expressive language disorder. Her diagnosis also included that she is very intelligent for her age, above developmentally (except for speech), and very socially intelligent. Even though she is socially intelligent, her anxiety and speech delay cause problems when socializing with other children. When playing with other kids, she often reverts to using sign language. One of her speech therapists use sign language when she talks with Snapper, and it really seems to help.

She now talks all the time and can tell me just about anything. I often think about last year and what we were going through and the nervousness I felt- but all I knew what that I love my daughter no matter what and that I would do what it takes to help her and teach her. She is still being monitored and there is something else going on with her needs- but she is going to have to be a little older to figure that out.

I wanted to share with you some of the resources I found while teaching her sign language. We still learn sign language in school because I want my children to know it- you never know when a deaf person or person with language disorder crosses your path.


1. ASL File Folder matching game from FileFolderFun.com

2. Printable sign language basics chart from StartASL

3. ASL cheat sheet from Signing For Dummies

4. ASL video dictionary at SigningSavvy.com

5. I have found a lot of sign language resources at Pinterest - search "free sign language"

6. Free Alphabet Printable Chart at SignLanguagePrintables.com

7. Free Worksheets at Teach-Nology.com

8. Free Courses for kids at ASL-Kids.com

9. Other free printables at TeachersPayTeachers.com

10. There are a ton of free handy resources at KidCourses.com for sign language.

Many of the above resources have a whole library of items that can help you teach your children.

There are a ton of free and inexpensive resources for sign language available. Whether you want to teach it as a second language to your children, learn it yourself, or have a child with a need to learn it, there are resources available, even if you do not have funds available.

If you have resources not listed here, please contact me- I am very interested in cataloging free resources for other mothers.

31 Uses For The Super Swap-It Pocket #ThirtyOne + #Giveaway Reminder

Disclaimer: I did receive samples for reviews and ideas. All opinions are my own.

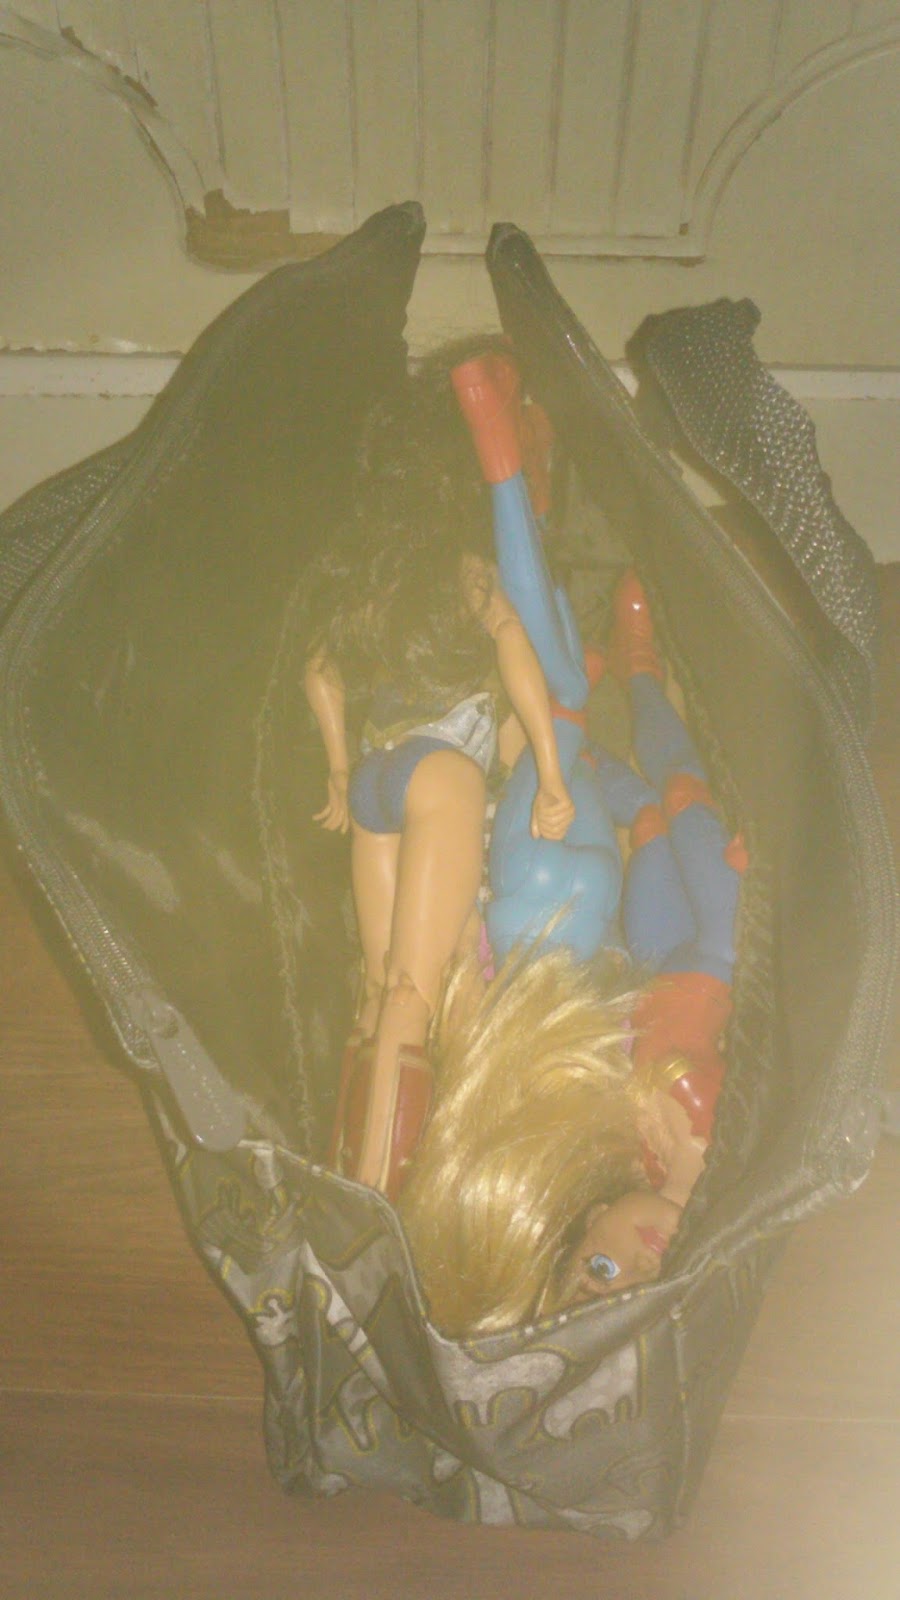
I was recently sent a couple of super-swap it pockets for the kids. Tbomb has switched between using his for action figures to books, drawing supplies, and even his play tools. Snapper uses hers for her barbies.

For Barbies, it is absolutely perfect. The middle is the perfect size for several Barbies- standing up or lying down- her van even fits. There are small pockets inside it that are great for accessories. The side pockets hold accessories, clothing, shoes, and anything else your little Barbie fan can come up with.


Isn't Wonder Woman Beautiful?
I've realized through getting the kids stuff organized in the Super Swap-It Pocket, that there are so many uses for this bag. 


1. Organize Work Totes
2. Mobile Office
3. Barbie Organization
4. Drawing Supplies
5. Mobile Classroom for field trips
6. School work for homeschool kids
7. Direct Sales Paperwork
8. Action Figure Organization
9. Library Trip Organizer (books, list of books, lesson plans, etc)
10. Research tote
11. Bible Study bag
12. Organizing Tech
13. Craft Supplies
14. Knitting/ Crochet/ Cross Stitch
15. Decor Ideas/ Magazines/ Swatches
16. Beauty (Curling Irons, etc fit in the middle)
17. Kids Travel Activities
18. Paperwork for legal/ medical
19. Toy sets with multiple accessories
20. Laptop Bag (for some sizes)
21. Car Emergency Kit
22. First Aid Kit
23. Game Supplies (WOW/ Dungeons & Dragons/ Magic/ etc)
24. Team Mom Supplies
25. Teaching Supplies
26. Planning Supplies
27. Medical Supplies
28. Home Tool Bag
29. Diaper Bag
30. Purse
31. Small Briefcase


If you would like to win one of these with the new giraffe print, be sure to check out this blog post for your chance to win it and more!


And The Best Backpack Award Goes To Obersee

Disclaimer: I received samples to review. All opinions are my own. 

I got an awesome email that there was a very interesting backpack available for review. It was a preschool backpack with a cooler pouch. How wonderful is a backpack for little kids with a built-in lunchbox? Seriously, little kids need as little as possible to keep up with. I quickly emailed the company back confirming that I would like to review and could not wait to receive my package. 

Immediately after the package came, the kids attacked and ran off with their choices! Snapper got the unicorn print and Tbomb got the camo print. These designs are adorable and perfect for my kiddos. 


Eventually, the kids let me get them organized and ready for a day out. I was able to fit all they need (including a change of clothing and school work) for a day of craziness away from home. There is still enough room for them to add a toy or two. 

You may think there isn't much reason for me to insist the kids have the perfect backpack. Even though we homeschool, I do insist on this. Because Tbomb gets car sick and often has to wait for Snapper to have her speech therapy and developmental check ups, he has to have things to keep him busy and his emergency car sick kit. Tbomb has also been diagnosed with ADHD but does not take medication (for my own reasons- we tried it, but abandoned it) and I keep a supply of things to help him. Koda hates riding and has to have things to keep her busy as well, but has to keep certain things with her because of her special needs. Backpacks allow them to keep up with their own things, learn organization skills, and take school work with them. 

I love the construction and fit of these backpacks. They are very durable and a very comfortable fit. They are specially designed for little kids and the chest strap gives, even more, support for their small bodies. These backpacks will work for them for years to come and the designs are too adorable to not continue to love. They are also light weight and it is not easy to find a light weight backpack that has a ton of functionality. 


I especially love the lunchbox feature. Not only can they take lunch and snacks wherever they go, they do not have something extra to keep up with. 

My plan for this pouch is a little different though. You see, when Koda went to her developmental pediatrician last time, we almost had a tragedy (Tbomb's words, not mine!) He had to have his tablet in a separate bag from his backpack because there was not an appropriate pocket for it. When we left, he grabbed his backpack but forgot his tablet bag. Oh NO!!! 

Luckily, we realized in time and I ran back up to the office to find it. They had seen it and realized it was his and put it on the counter, knowing I would be back for it. We got lucky, so after that, I started keeping up with it. However, I have enough to keep up with. The Obersee preschool backpack's cooler pocket is perfect for tablets. It will fit their tablets, headphones, battery pack, and even mp3 players. The lining also gives it extra protection, like a laptop pocket would. 


To purchase your own, see all the beautiful prints, and the other amazing products offered by Obersee, be sure to visit their website

5- Minute DIY: Kids Placemat + Free Printable

This may just be the quickest DIY you have ever done. All you need is the printable I provide and a dry erase sleeve. Then, you are good to go!


This is what I made the kids last Thanksgiving dinner. I like doing a place setting with a prayer or scripture on one side and a game on the other side. I've created a plain one that will work any time of the year. You can easily find free holiday place settings and games with a simple google search.


I have created it in black and white so that kids could color it. However, you could also print it on colored or printed paper, if you prefer.

I slip these inside of a dry erase sleeve, found at Oriental Trading and other teaching supply resources. This way, I can switch them out- especially the games. If you would rather, you could make them single use, just by using the paper. You could also laminate them.

Tip: I do not allow my kids to have dry erase markers- it is just too easy to mark on things that are not made for wipe-off. Instead, we use Crayola dry-erase crayons and Crayola dry-erase colored pencils. Check Amazon for these.

Download Here